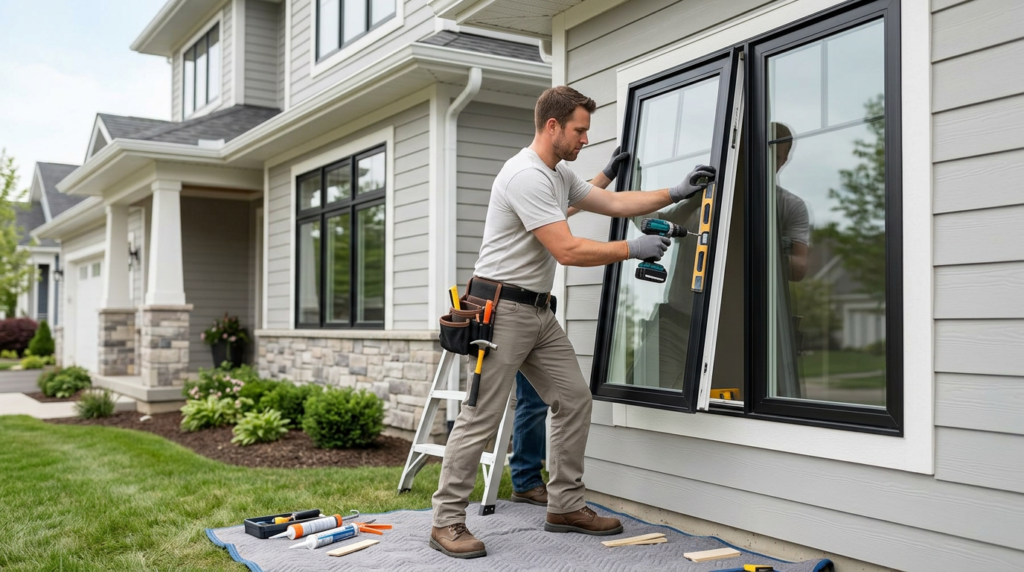
Quick answer: Choose a local window installer by verifying they measure your openings in person, explain the full install method (full-frame vs. insert), and put details in writing: window specs, flashing plan, trim work, disposal, and warranty terms. Ask who handles permits if required, confirm they’re insured, and review recent, local references. A clear scope and solid water-management plan usually matter more than brand hype.
Start With the Installation Plan, Not the Sales Pitch
The fastest way to separate good installers from smooth talkers is to ask exactly how they’ll install your windows. A proper quote starts with an in-person measurement and a discussion of your goals: better comfort, reduced drafts, easier operation, or fixing rot and water intrusion. If you’re searching window installation near me, prioritize companies that explain their process in plain language and don’t rush past details like flashing and insulation.
Ask whether they recommend insert (pocket) replacement or full-frame replacement. Insert installs can be a good fit when the existing frame is square, solid, and dry; they’re usually less disruptive but reduce glass area slightly and won’t fix hidden rot. Full-frame replacement costs more labor and trim work, but it’s the right call when you have soft wood, water staining, out-of-square openings, or you want to change the window size or style.
Also ask what they’ll do around the perimeter: air-sealing, low-expansion foam, backer rod and sealant, and exterior flashing. Water management is often the make-or-break detail, but best practice can vary by wall assembly and cladding (brick, stucco, vinyl, fiber cement), so the installer should explain how their flashing ties into your existing water-resistive barrier and trim details.
Copy/Paste Comparison Checklist for Written Quotes
Send this to each installer and compare their replies line by line. You’ll get clearer bids and fewer surprises later.
Window details: Brand + model/series; operation type (double-hung, casement, etc.); glass package (low-E, tint level if any, tempered where required); color/finish; grid style; screen type; hardware finish; lead time estimate.
Scope of work: Insert vs. full-frame (state which); number of windows; interior trim work (reuse/replace, paint-ready?); exterior trim (wrap/replace); disposal/haul-off; protection of floors/furniture; rot repair allowance or how change orders are handled; final cleanup.
Flashing/water management: Describe materials (flashing tape type, pan flashing/sill pan if used, sealant type) and how it integrates with existing WRB/housewrap; approach for your cladding (brick/stucco/siding); how they handle head flashing/drip cap; air-sealing method (foam vs. backer rod + sealant) and where it’s applied.
Permits/inspection: Will a permit be pulled if required? Who pulls it and who schedules inspections? Confirm any structural changes will be permitted.
Insurance: Provide a current Certificate of Insurance (COI) showing general liability; confirm workers’ comp coverage for the crew on site.
Warranties: Provide manufacturer warranty document and workmanship warranty terms (duration, what’s covered/excluded, transferability if you sell); who you call for service and typical response expectations.
How to Validate Insurance and Warranties (Without Guesswork)
Don’t rely on verbal assurances. Ask for a current Certificate of Insurance (COI) sent to you directly (email is fine) that lists general liability coverage and dates. If subcontractors will be used, ask for their COIs too. For workers’ comp, request proof of coverage for anyone who will be on your property; if a company says they’re “exempt,” ask what that means for the crew actually doing the work.
For warranties, request the actual manufacturer warranty document for the quoted window series (not just a brochure) and read the exclusions. Many warranties require proper installation and maintenance, and some parts (like labor) may not be covered by the manufacturer. Separately, get the installer’s workmanship warranty in writing with clear language on leak/draft coverage, what triggers a service call, and whether interior/exterior trim or paint is included.
Finally, make sure the contract names the window model/series and the install method. If the paperwork is vague, it’s hard to enforce any warranty later.
Questions to Ask Before You Sign Anything
A solid installer will answer these without hedging: Who takes final measurements and who is responsible if the window doesn’t fit? What brand and series are you quoting, and what are the exact options (glass package, grids, screen type, color, hardware finish)? Will you replace or wrap exterior trim, and what happens if they uncover rot?
Clarify workmanship warranty versus manufacturer warranty. Manufacturer coverage usually applies to the window unit; workmanship covers leaks, drafts, and operational issues caused by installation. Get the warranty terms in writing, along with what voids coverage (for example, improper painting of wood components or blocked weep holes).
Permits aren’t always required for like-for-like replacements, but some jurisdictions do require them, especially if you’re changing opening sizes or doing structural work. Ask who pulls permits if needed and whether the installer will coordinate inspections.
Red Flags You Can Spot During the Estimate
Pay attention to the building-science basics. If the estimator doesn’t look for water staining, soft sills, or signs of previous leaks, that’s a problem. Other red flags include refusing to specify the window model in writing, quoting without measuring each opening, or promising a “one-size-fits-all” install method.
Be cautious with extremely low bids. Window installation can involve hidden time sinks: correcting out-of-square openings, repairing minor rot, careful flashing, and clean interior trim work. If the price seems unrealistically low, something is likely being skipped—often the water-management steps you can’t easily see later.
Also watch for pressure tactics that push you to sign immediately. A professional quote should spell out what’s included (site protection, disposal, interior/exterior trim, paint-ready finish) and what isn’t (unexpected structural repairs), so you can compare apples to apples.
What a Good Installation Day Should Look Like
On install day, the crew should protect floors and furniture, remove the old unit without damaging surrounding finishes, and dry-fit the new window to confirm alignment. The window should be shimmed square and plumb, fastened per manufacturer instructions, and sealed with the right materials (low-expansion foam where appropriate, quality sealant, and properly integrated flashing on the exterior).
After installation, each sash should operate smoothly, locks should align, and there shouldn’t be visible gaps around the frame. You should get a walkthrough: how to tilt-in for cleaning (if applicable), how to use vent latches, and what maintenance matters (keeping weep holes clear, not sealing over drainage paths, and re-caulking exterior joints when they age).
Next step: get 2–3 written quotes and compare the checklist line items side by side before choosing an installer.
If you want a local option: Georgia Home Windows can provide a written quote that you can compare against the same checklist.