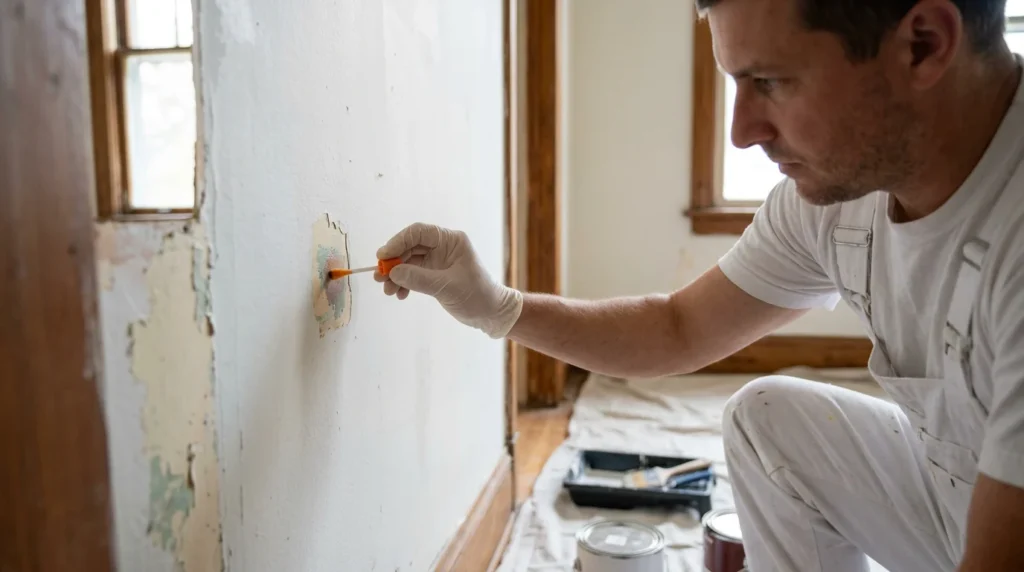
Quick answer: Lead-based paint testing identifies whether painted surfaces contain lead and pinpoints where it’s located. It’s most useful for homes built before 1978 and before any sanding, scraping, demolition, or window/trim work that could create dust. Pros commonly use XRF for quick, room-by-room readings or collect paint-chip and dust-wipe samples for lab analysis. Results guide safer repair, containment, and cleanup decisions.
When Lead Paint Testing Makes Sense
Testing is most useful any time painted surfaces might get disturbed. If you’re planning to repaint, replace windows, refinish trim, remove old siding, or open walls, you can turn stable paint into dust quickly. That dust is the main concern because it can spread beyond the work area and linger in carpets, HVAC returns, and soil near the house.
Age is the biggest clue. Homes built before 1978 are the classic candidates, and the older the home, the more likely lead paint shows up in multiple layers. Even if the top coat looks modern, lead can be buried underneath and still become a problem during sanding or heat-gun work. If you want clarity before a project, testing for lead based paint gives you a way to confirm what you’re dealing with instead of guessing.
Quick decision triggers (checklist):
- Home built before 1978 + you’ll sand/scrape/demo/replace windows or trim → schedule lead paint testing before work starts.
- Peeling, chalking, or rubbing paint on windows, doors, stairs, porches, railings → prioritize those friction/impact surfaces for testing and stabilization.
- Recent renovation and you’re worried about lingering dust → request dust-wipe sampling to check cleanup.
- Buying or selling an older home and want clarity on renovation planning → test to map where lead is present.
Testing Methods Compared
Different methods answer different questions. Here’s a simple comparison to help you choose:
| Method | Speed | Invasiveness | Best time to use | What you learn |
|---|---|---|---|---|
| XRF (handheld analyzer) | Same visit results in many cases | Low (usually no paint removal) | Pre-renovation mapping; whole-home screening | Which specific components/surfaces test positive for lead paint |
| Paint-chip lab sample | Slower (lab turnaround varies) | Moderate (small paint chip removed) | When you need lab documentation or confirmation in targeted areas | Lead content for the sampled spot/layer(s) |
| Dust-wipe lab sample | Slower (lab turnaround varies) | Low (wipe collection) | After renovation/repair; suspected dust spread; clearance-style checks | Whether settled dust in sampled areas contains lead |
If your main goal is “Where is lead paint in this house?”, XRF is often the most direct. If your goal is “Did the work leave lead dust behind?”, dust wipes are the more relevant tool. Paint-chip sampling can be a good fit when you only need to confirm a few suspect locations or want lab results for a specific surface.
What Testing Can’t Tell You
A negative result in one spot doesn’t clear the whole room or the whole home. Lead paint can vary by surface (trim vs. walls), by layer (older layers under newer paint), and by addition/renovation history. Good testing plans sample or scan representative components rather than assuming one result applies everywhere.
Testing also doesn’t automatically tell you “hazard” versus “no hazard.” Intact lead paint that isn’t chipping and isn’t on a friction surface may pose less immediate risk than deteriorated paint or dust. Hazard is tied to condition and exposure pathways (especially dust), not just the presence of lead.
Finally, testing doesn’t replace jobsite controls during renovation. Even with results in hand, you still need containment, dust-minimizing methods, and proper cleanup practices during work to prevent spreading contamination.
What to Do If Lead Paint Is Found
A positive result doesn’t mean you must remove all paint. Many homeowners manage lead paint safely by keeping it intact and using the right maintenance approach. Encapsulation (a specialized coating), covering (new drywall over old surfaces), or component replacement (like old windows) are common strategies, depending on condition and how much friction the surface gets.
Avoid dry sanding, uncontrolled scraping, or using high heat on suspect paint. Those methods create fine dust and fumes that are hard to contain. If work is needed, ask contractors what containment and cleanup steps they use, how they protect HVAC returns, and whether they verify cleanup with dust testing.
For next steps, use this checklist to stay organized:
- If you’re renovating pre-1978 housing: follow EPA’s Renovation, Repair and Painting (RRP) requirements and choose lead-safe work practices.
- If paint is deteriorated or on friction/impact surfaces: prioritize stabilization or replacement; HUD guidance on lead hazards focuses heavily on dust and deteriorated paint.
- If you suspect dust after work: schedule dust-wipe sampling to confirm cleanup.
- If children spend time in the home: focus first on windows, doors, stairs, and porches where lead dust is more likely to be generated.
- If you want local guidance: state or county health department resources can help interpret risk reduction steps for your area.
For help deciding which testing method fits your home and what your results mean for renovation or maintenance, contact BluePrint Home Inspection.